Post by Shakhawan.
In order to show objects in the exhibits of museums in a scientific and modern way that gives an aesthetic value, we have to choose suitable materials for object bases that should have the following characteristics such as:
1- The chosen material should not harm the artifact
2- The size, shape and its color should fit with the object
-In order to support the object with the mount, we can use epoxy putty.

Epoxy putty used to make mounts.
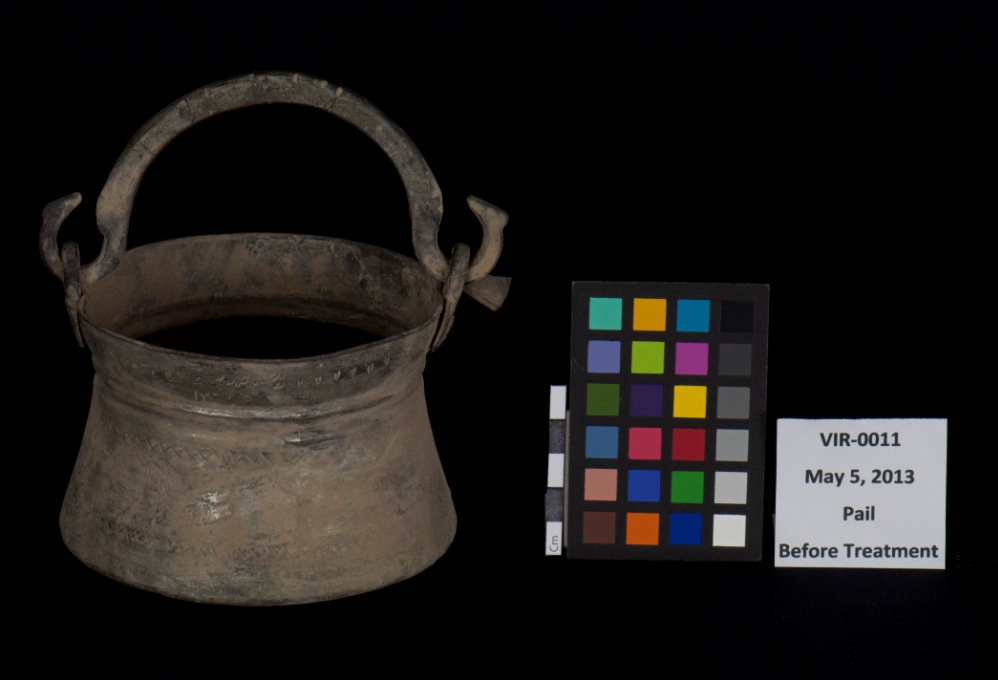
-Another thing that we have to do is filling out the missing parts particularly places that directly connect to the base

Practicing making a mount to replace a missing part.
– Compared to the rest of the object, we have to color the replacement parts in dissimilar color.

Paints used to color epoxy mounts.
– After we had used epoxy as mount material, in order to stick the object to the base, we prefer to use B-72 in 30% as adhesive.

Plexiglass bases for the mounts.
In order to replace the missing parts, we have to discuss what type of adhesive we should use that is appropriate to the object, therefore we have to do tests to the materials that we should use in this process.

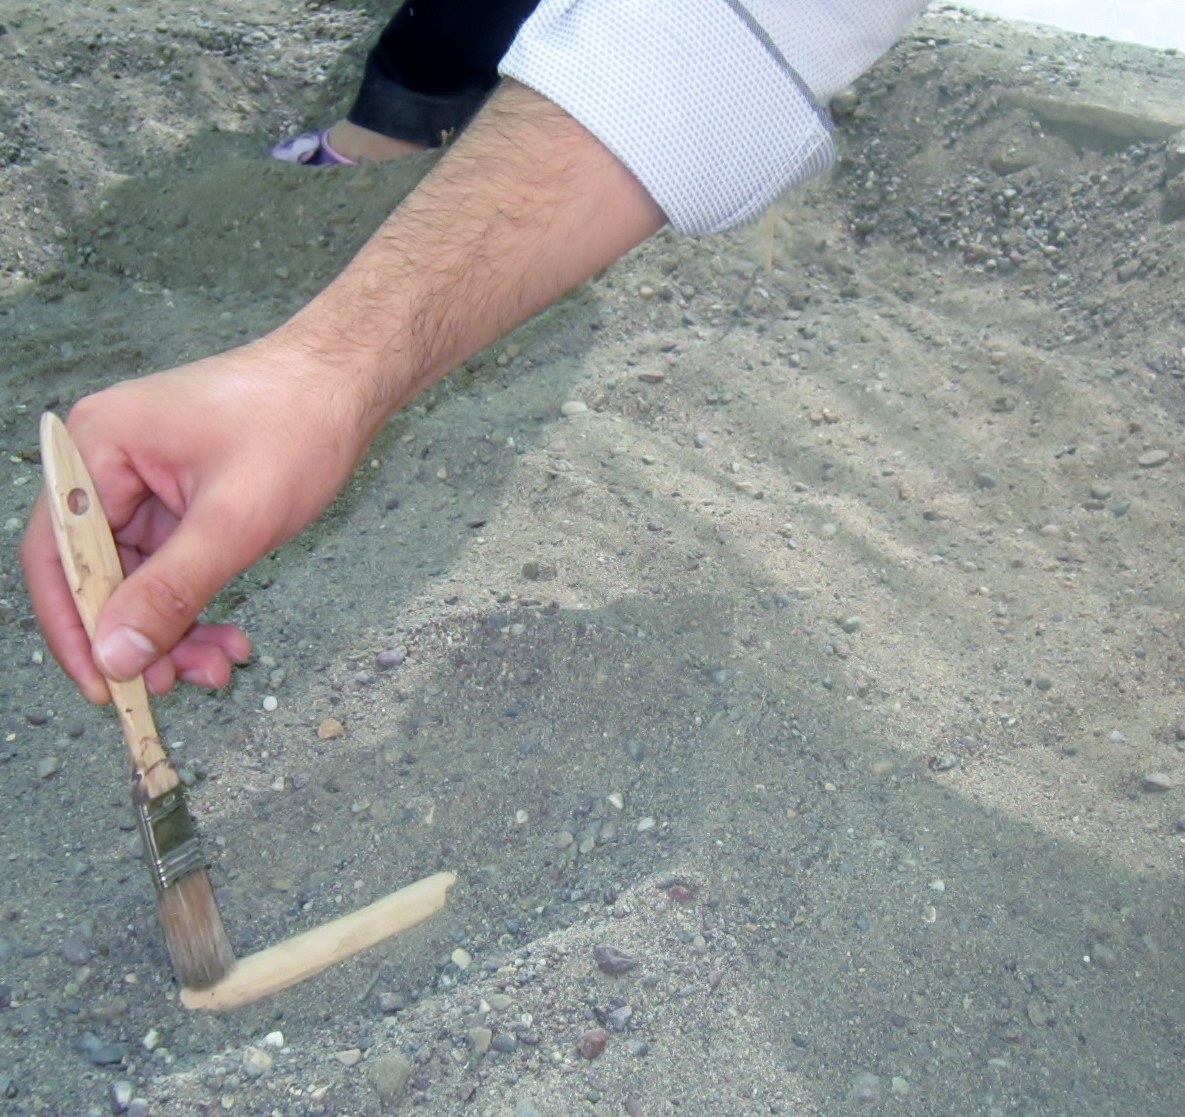
Working at the Erbil Civilizations Museum to mount artifacts.